We'll show you how to make these stylish framed-art sliders to hide your TV.
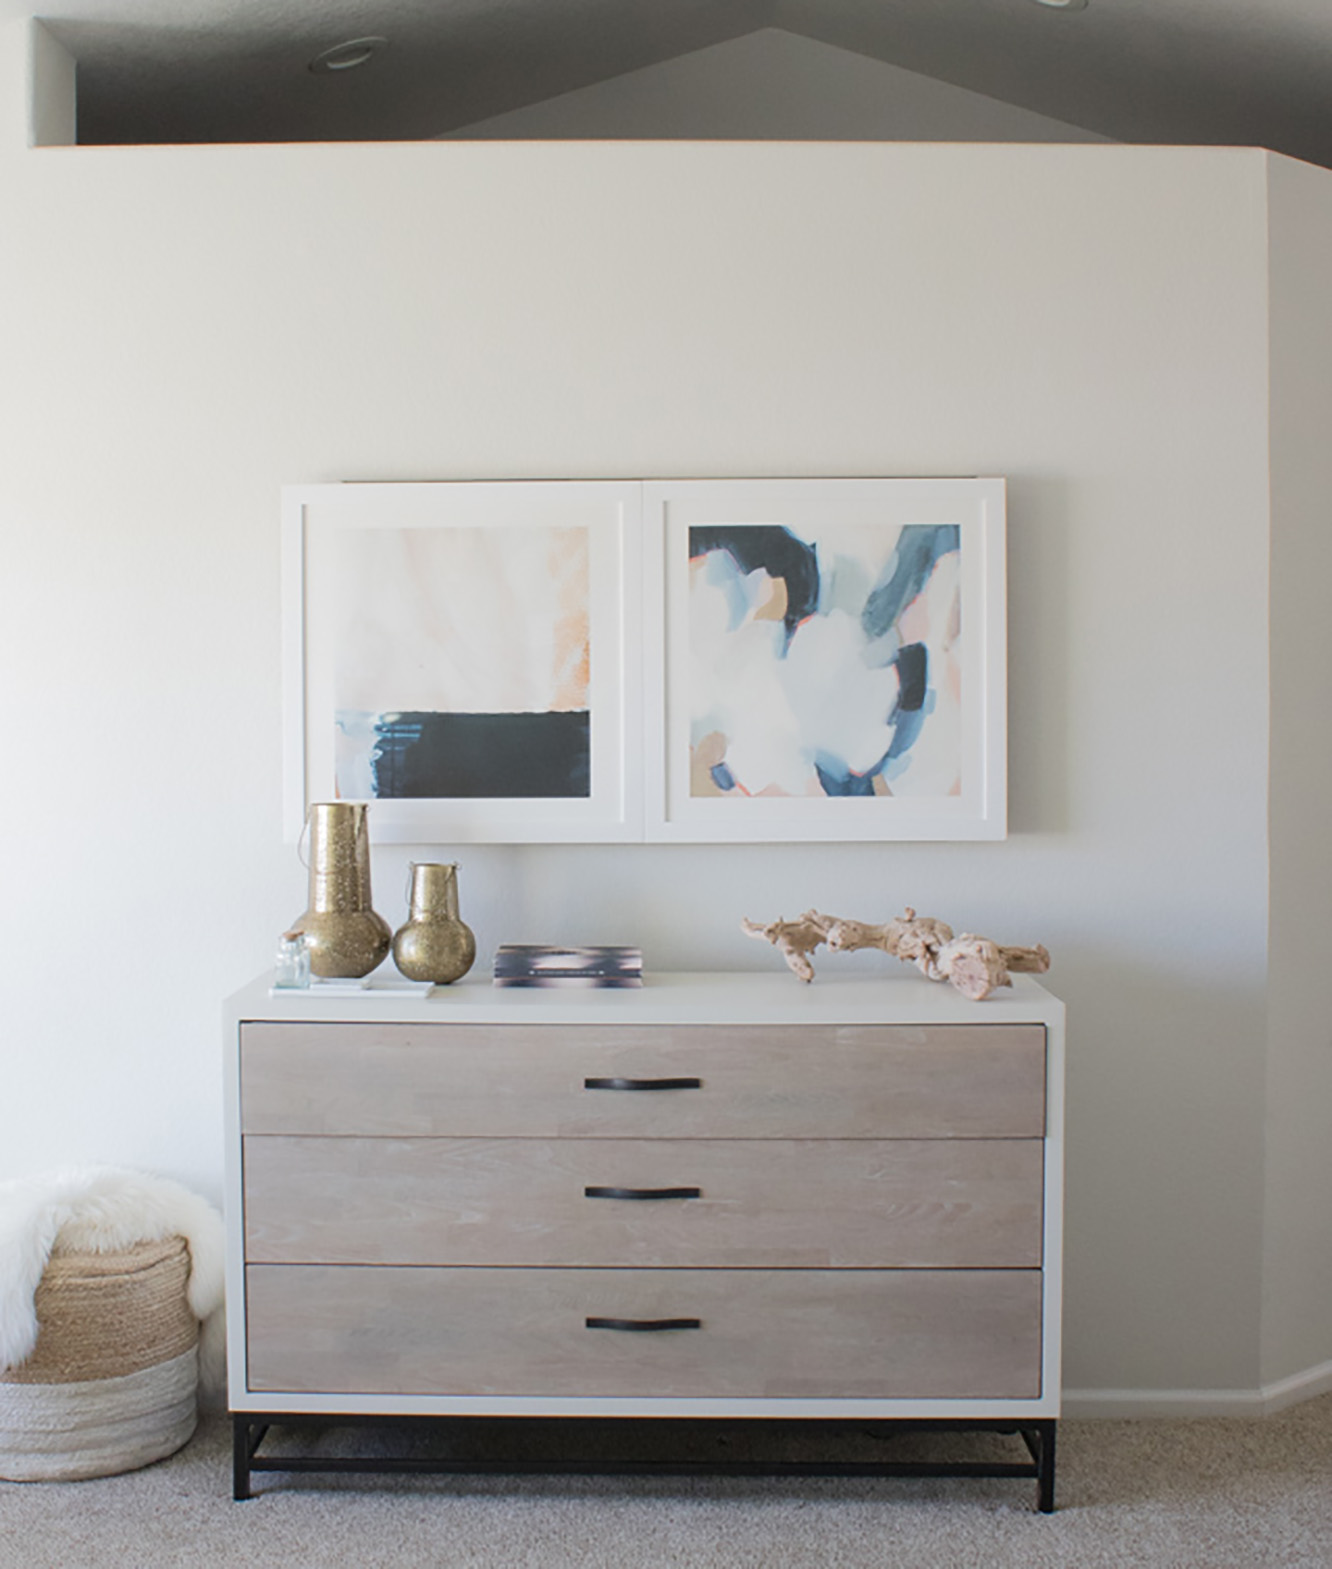
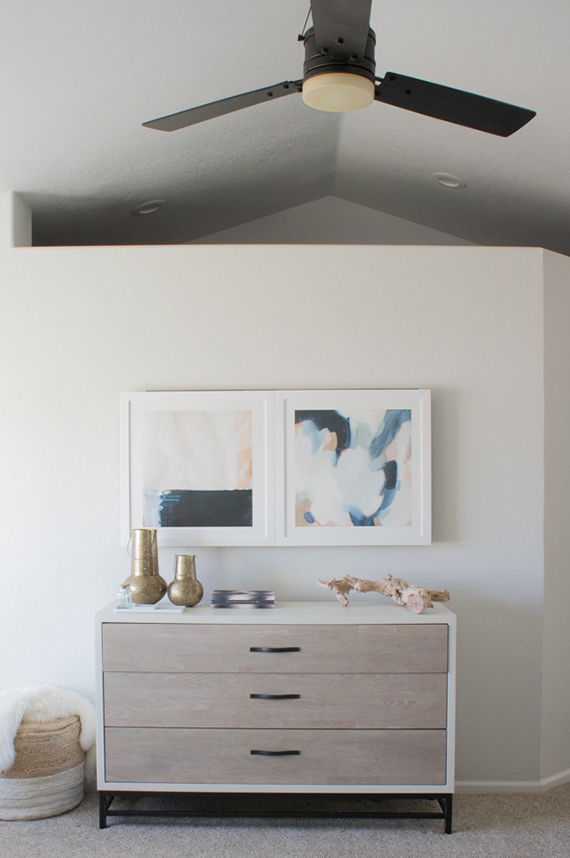
What do you see in the photo below? Really, the better question is what don’t you see?! At first glance, you’re looking at a dresser and a lovely pair of framed art pieces. But (no joke!) behind those prints is our 46″ flat-screen TV! I can hardly believe it myself. Keep reading because I’m going to show you how to make these framed-art sliders to hide that unsightly screen without breaking a sweat or your budget.
Measure your TV, then purchase two art pieces large enough to hide your TV once the frames are placed flush against each other. Be sure to factor in the additional width the frame will add when purchasing your art.
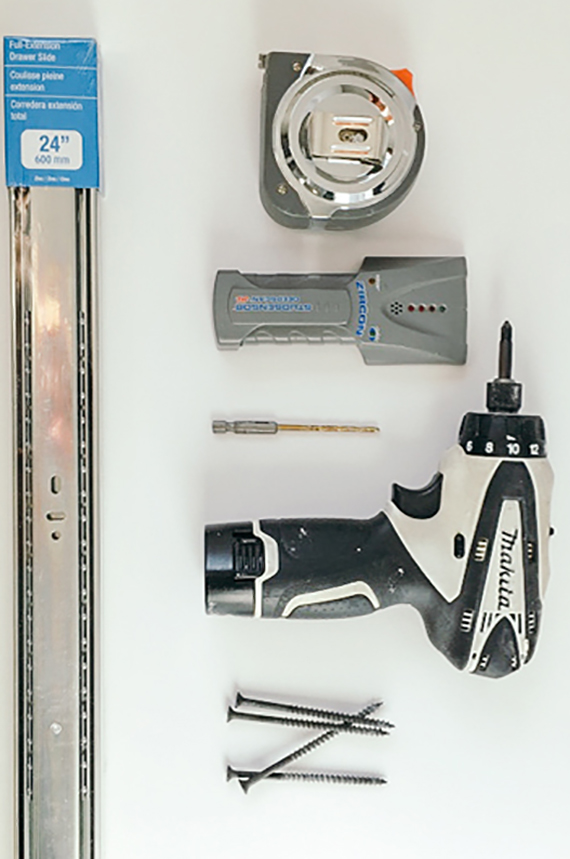
Find the center of the studs on the wall behind the TV and mark them with a pencil. Then measure and cut the wood to the length of the two drawer slides lined up end to end. I used 24-inch slides, so I cut the wood to be 48 inches. Alternatively, you can have your hardware store cut the wood down to size for you. The thickness of the wood will depend on how far your TV sticks out from the wall. I used 2″ x 2″ pine.
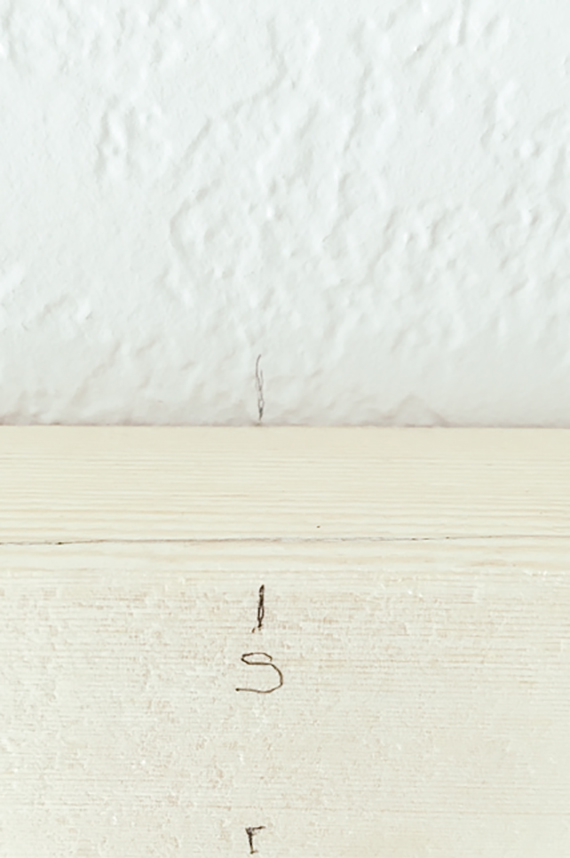
Lengthwise, measure and mark the center of the wood plank. Next, above the TV, mark where the center of the TV is on the wall. Line up the center of the wood and the center of the TV on the wall; transfer the marked locations of the stud centers onto the wood plank. Be sure to also mark the top and bottom of the wood plank, so you know which is which later when you mount it to the wall. I mention this because I attached it upside-down the first time—oops!
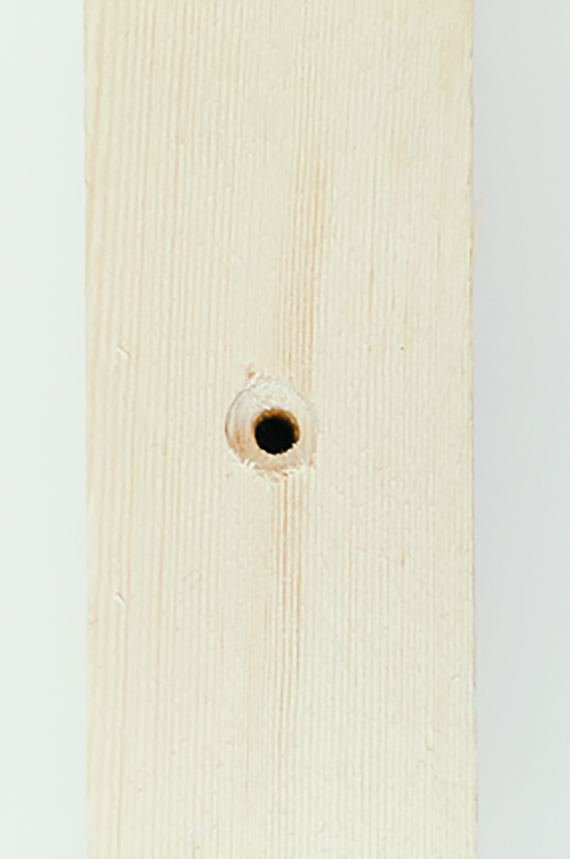
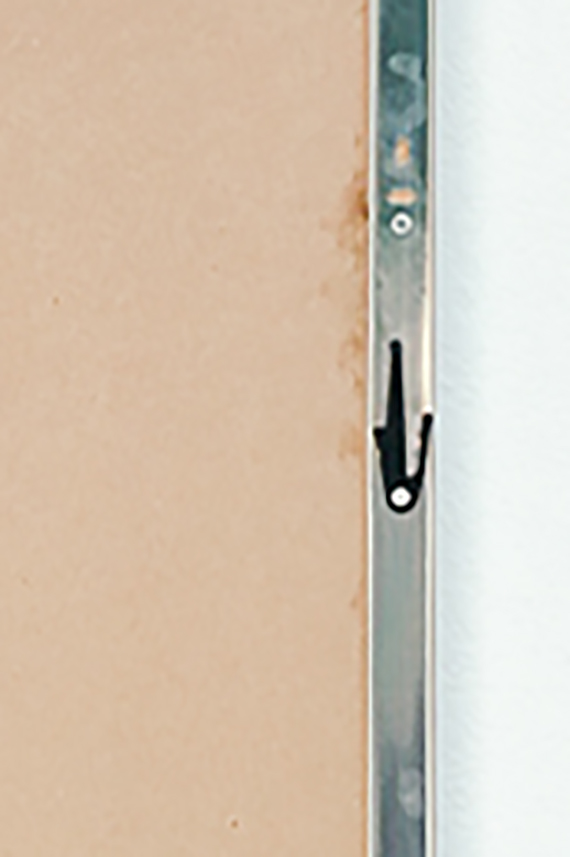
Pre-drill holes for the screws through the wood. Using a larger drill bit, make the top of the hole slightly larger so the screw will sit flush or slightly below the wood surface (this is to ensure the drawer slides lie flat against the wood when you attach them). Place the wood plank where it should be on the wall, making sure it’s level. Using the drill, mark the holes in the wall where your studs are by drilling through the pre-drilled holes you just made.
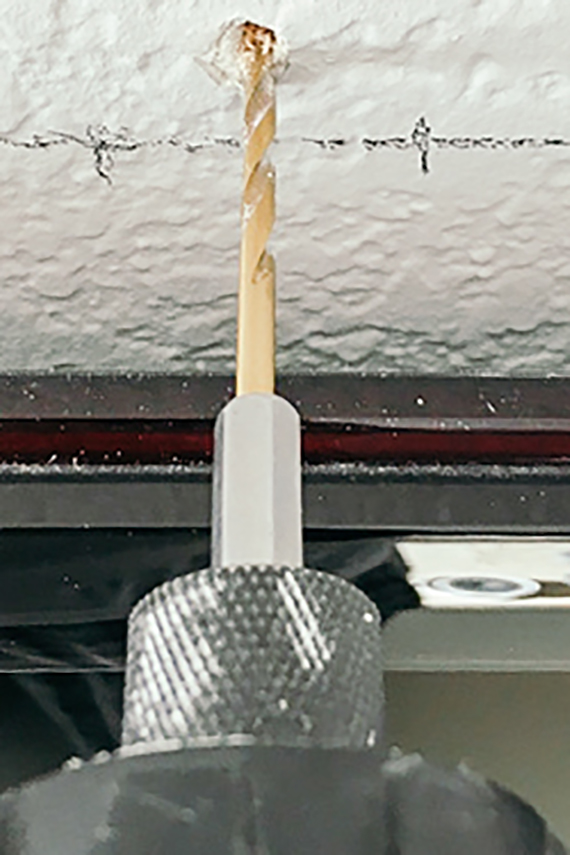
Remove the wood plank then drill into the wall, going as deep as the length of the screws minus the thickness of the wood. Pre-drilling will make it easier to attach the plank to the wall when you’re ready.
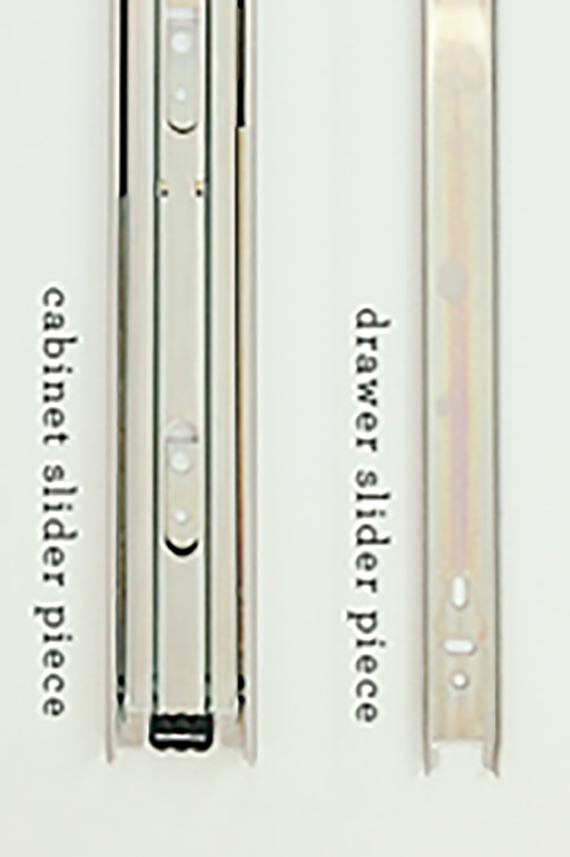
Separate the drawer-slide pieces by pushing the release lever. You’ll be attaching the drawer piece to the art and the cabinet piece to the wood plank. Pay attention to how the pieces fit together so you can position them correctly later on.
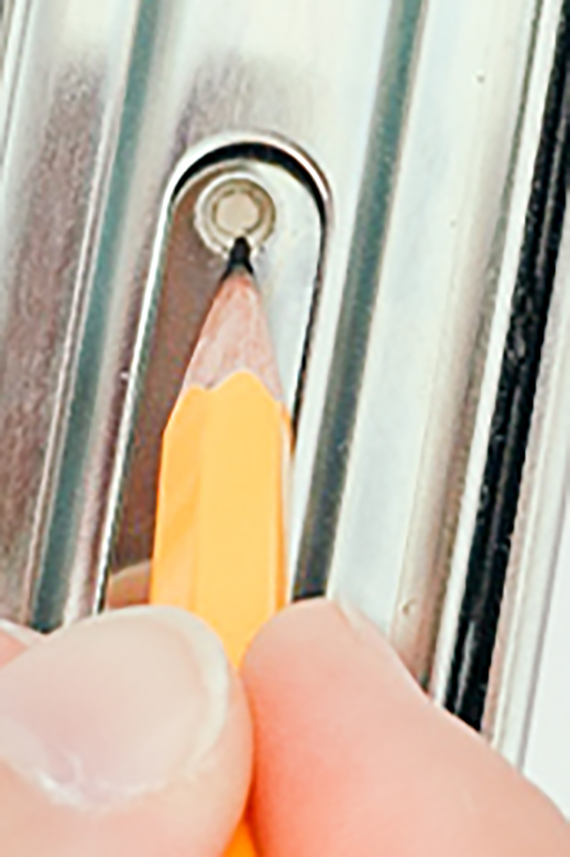
Arrange the two cabinet-slide pieces on the wood plank; make sure both pieces slide outward and inward to meet in the center. Mark the holes for the screws with a pencil. Avoid the pre-drilled holes.
Now you’re ready to attach the wood plank to the wall. Using wood screws, secure the wood plank to the wall using the pre-drilled holes; be sure to check that it is level. Line up the first cabinet-slide piece to the wood using the penciled hole marks you made earlier. Using the screws provided with the drawer slides, attach it to the wood. Repeat with other slider.
Carefully attach the drawer-slide pieces to the top of the backside of the framed art along the wood frame. Make sure that the slide is pointing in the right directions.
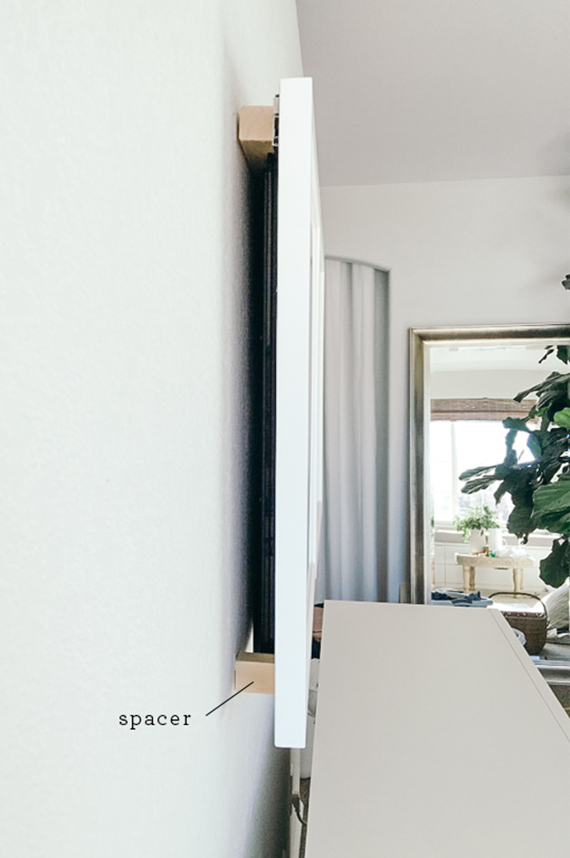
Measure and cut wood spacers for the bottom of the frame to rest on once they’re are extended past the TV edges. Attach them next to the TV on both sides. I used Command Strips to attach them to the wall. Add a felt pad to the top of the spacer to protect the back of the frame as it glides.
The moment of truth is here! Reattach the drawer-slide pieces to the correct sides by sliding the drawer piece into the cabinet piece while holding the art parallel to the wall. I attached additional felt strips to the back of the the art to prevent damage to the TV as it slides.

Minted Address Book app
Stay connected with contacts and manage your addresses with ease.
Minted Address Book app
Stay connected with contacts and manage your addresses with ease.
